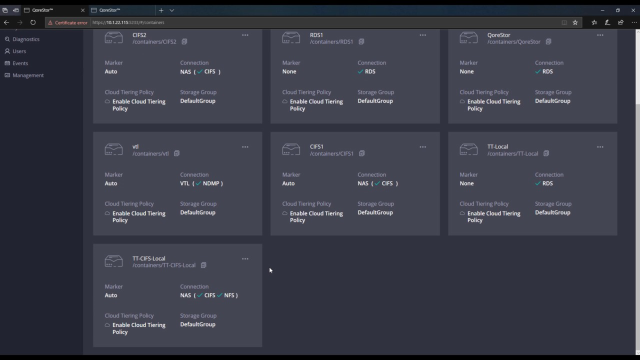
How to create CIFS replication in QoreStor
 04:09
04:09
Related videos
Using Veeam with Quest QoreStor
Learn how to best use Veeam with Quest QoreStor.
02:12
The answer for business growth for Veeam MSPs.
Discover the answer to growing your data protection managed services and maximizing profits. Learn how using Quest® QoreStor® with Veeam backup can reduce stor...
01:59
Reduce Data Protection Storage Costs in the Cloud
Learn how Quest QoreStor® can reduce cloud storage requirements and cost by more than 90% for backup, disaster recovery and long-term retention.
02:24
Veeam Backup and Quest QoreStor: Making Backup and Recovery Better
With exponential data growth, backup and recovery can take longer and be more challenging. And ransomware attacks make protecting your backups even more importa...
04:38
QoreStor 소프트웨어 정의 보조 스토리지
QoreStor를 사용하여 더 쉽게 백업 성능을 가속화하고, 스토리지 요구 사항과 비용을 줄이고, 아카이빙 및 재해 복구를 위해 클라우드를 활용하는 방법에 대해 알아보십시오.
01:48
Making Veeam v12 Backup to Object Even Better
Veeam v12 offers direct to object backups and by adding Quest QoreStor software-defined data deduplication, you can significantly reduce object storage requirem...
01:02
Introduction to deduplication in Quest QoreStor
In this video, get an introduction to deduplication in Quest QoreStor.
03:00
How to register a QoreStor instance in Global View Cloud
Learn how to register a Quest QoreStor instance in Global View Cloud.
01:22
How to create a container in QoreStor and add it to NetVault Backup
Learn how to create a container in QoreStor and add it to NetVault Backup.
03:09
How to add a cloud tier in QoreStor
Visit the Azure Marketplace: https://AzureMarketplace.Microsoft.com In this short video, learn how to add a cloud tier in QoreStor.
03:29
Become a Quest® QoreStor® Managed Service Provider
QoreStor offers advanced compression and deduplication algorithms to reduce the storage space needed for customers’ data and increase savings by as much ...
02:07
Software-Defined Secondary Storage with QoreStor
Learn how QoreStor can help accelerate backup, reduce storage requirements and costs, and leverage the cloud for archiving and disaster recovery.
00:55
QoreStor Software Defined Secondary Storage
Learn how QoreStor can help accelerate backup, reduce storage requirements and costs, and leverage the cloud for archiving and disaster recovery.
01:48
QoreStor: Reducing your cloud storage costs to pennies per gigabyte
Cloud storage costs have become a big challenge as datasets grow in size. Quest product manager Adrian Moir explains how QoreStor integrates deduplication with ...
01:12
