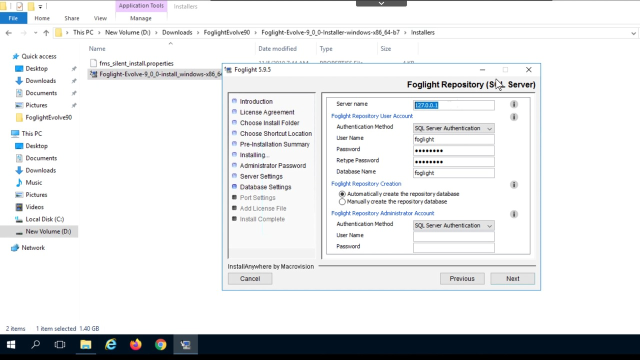
How to install Foglight Evolve 9.0
 06:21
06:21
Related videos
Unlimited virtual possibilities with Foglight for Virtualization
Learn how Foglight for Virtualization gives you the power to visualize, analyze, and optimize your virtual infrastructure to improve operational expenses, save ...
02:11
Reporting in Foglight Evolve
Learn more about reporting in Foglight Evolve from Quest.
03:58
Reclaim Resources with Quest® Foglight® Evolve’s Optimizer
Cut costs by reclaiming resources with Foglight Evolve. It tracks actual consumption, provides recommendations, calculates savings and eliminates waste.
07:33
Predict and Manage Cloud Costs with Quest® Foglight® Evolve
Managing cloud costs is easy with Foglight Evolve. It shows your cloud subscription costs with predictive analysis to help with budgeting.
01:53
New container monitoring capabilities in Foglight Evolve
Learn about the new container monitoring capabilities in Foglight Evolve from Quest.
03:03
Monitoring storage with Foglight Evolve
Monitoring storage with Foglight Evolve from Quest.
01:39
Licensing options in Foglight Evolve
Licensing options in Foglight Evolve from Quest.
03:08
Cut Costs with Quest® Foglight® Evolve’s Cost Director
Easily manage on-premises and cloud costs with Foglight Evolve. Quickly understand and optimize resource usage through intuitive dashboards.
04:41
Counting hosts to determine licensing with Foglight Evolve
Counting hosts to determine licensing with Foglight Evolve from Quest.
01:48
Cloud modeling capabilities in Foglight Evolve
Learn about the cloud modeling capabilities in Foglight Evolve from Quest.
05:03
Capacity Planning and Modeling with Quest® Foglight® Evolve
Learn how to easily plan and model capacity in just a few clicks. Foglight Evolve’s intuitive UI makes capacity planning and modeling simple and quick.
03:59
How to install a VMware agent in Foglight Evolve
Learn how to disable a VMware agent in Foglight Evolve in this short video.
03:31
How to upgrade from Foglight for Virtualization 8.8.5 to Foglight Evolve
In this video, learn how to upgrade from Foglight for Virtualization 8.8.5 to Foglight Evolve.
05:54
How to disable an embedded Foglight Agent Manager in Foglight Evolve
Learn how to disable an embedded Foglight Agent Manager in Foglight Evolve from Quest.
04:05
