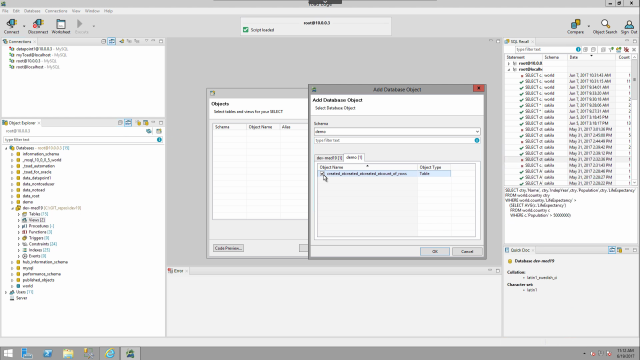
How to use the object wizard in Toad Edge
 06:38
06:38
Related videos
Visit Quest at Oracle OpenWorld and learn about Toad Edge
Visit Quest at Oracle OpenWorld booth 5401 and learn about Toad Edge.
01:56
Using worksheets in Toad Edge
This video shows how to use the worksheet in Toad Edge. Learn about the intelligent feedback system in the canvas, how to work with the toolbar, and how to form...
04:58
Toad Edge licensing for trials and renewals
Quest Product Technologist, Robert Pound, reviews how to install a license for Toad Edge customers. Add or update licenses in Toad Edge or on Toad World.
03:23
Toad Edge installation for Mac
Watch how to install Toad Edge for OS X. We'll cover basic installation of Toad, discuss system requirements, and where to get more installation information.
03:07
Session monitoring in Toad Edge
In this short video you will learn about session monitoring in Toad Edge, as well as some other features for getting feedback.
04:29
Using the snapshot feature in Toad Edge
In this video you will learn how track schema changes over time with the snapshot feature in Toad Edge. See how to create snapshots, compare snapshots to an act...
03:18
Make the most of your JSON data in Toad Edge
Learn how to make the most of your JSON data in Toad Edge.
02:40
Introducing Toad Edge
Toad Edge is a flexible database development toolset that works with both Windows and Mac operating systems and is built on Java for easy extensibility. It's de...
01:51
How to view and modify user privileges in Toad Edge
This short video shows how to view and modify user privileges in Toad Edge in two ways: per object or per user.
04:53
How to use the SQL Recall feature in Toad Edge
This video describes the SQL Recall feature in Toad Edge, including how to sort and clear entries, how to use recalled statements, and how to pin statements for...
02:42
How to use text and object search in Toad Edge
Learn how to use text and object search in Toad Edge, the solution from Quest that provides simplified database development for MySQL environments.
04:12
How to set up a Quest account to access your Toad products
Learn how to set up a Quest account to access your Toad products.
02:33
How to connect to Amazon Relational Database Service with Toad Edge
This video will show how to take advantage of cloud database technologies in Toad Edge.
03:15
How to compare database schema in Toad Edge
This video shows how to compare database schema in Toad Edge. See different ways to open the tool, how to filter and group different aspects of the database, an...
09:08
